When I was a kid, my mom wrote a letter to my grandmother every week using the pink manual Smith Corona typewriter she’d gotten as an eighth-grade graduation present.
In high school, I bought myself a word processor. It had a four-line screen and could save documents for later editing and printing (like a sort of ghost typing). I could center and bold text, and there were four (Wow!) font choices.
By the end of college, I had my own desktop computer.
So in twenty years we’ve gone from whiteout and manual margin  adjustment to the many complex features of Word (and the like). In today’s post, we’re going to tackle one of Word’s more advanced functions: creating a table of contents (TOC).
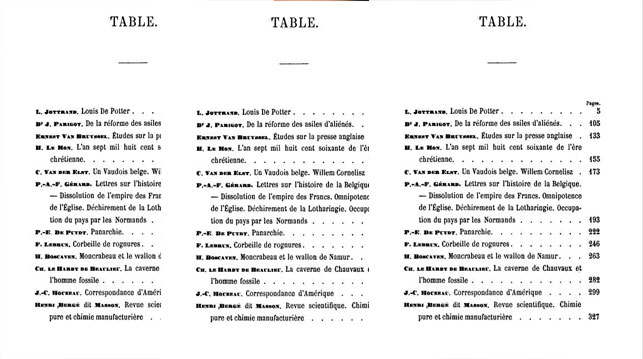
Creating a TOC the old-fashioned way means waiting until you’re done with the document and then creating a list of chapters and sections with their corresponding page numbers. If you do it this way, you must wait until you are truly done writing, because if you edit, you will change the page numbering, which means you will need to redo your TOC.
Get a free sample proofread and edit for your document.
Two professional proofreaders will proofread and edit your document.
Word’s TOC function updates numbers and names with just a few clicks as you write and edit. But you have to do the work to set it up.
Step 1: Pick a Style
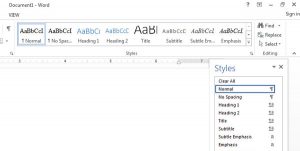
First apply the appropriate Word styles to your document’s headings by selecting (highlighting) each heading type you want to use (You don’t need to use them all.) and then applying the heading style you want. Heading styles are found on the Home tab at the right.

Step 2: Make the Table
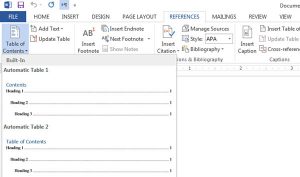
After you’ve given your headings the style you want, add a blank page in your document where you want the TOC to be. Then on the References tab, click Table of Contents, and select the style of table you want from the list. Voilà! Now you have a TOC that you can update even if you edit your document’s headings or the page numbers change.

Step 3: Update
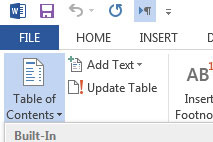
There are a couple of things to keep in mind when using Word’s TOC feature. First, if you change things after creating your TOC, it doesn’t update automatically. You must click on the TOC, select Update Table from the menu that drops down from the top of the frame, and choose to either update the entire table or just the page numbers.

Step 4: Don’t Get Carried Away
Word has lots of fancy styles for its headings with fonts, sizes, and colors, but for academic and most business work most style guides recommend Times New Roman 12-point font throughout, and most have guidelines for placement of the headings as well. As you set up the styles, keep to the rules.
Step 5: Keep an Eye on That Table
Don’t assume it’s going to work perfectly. Like all software, Word has hidden issues.
One issue I’ve encountered with Word’s TOC feature is that the headings need to be on a line of their own—not in-line with the paragraph as some levels of headings can be—for them to work properly. There seems to be a bug, at least in some versions of Word, whereby if you select only the heading text and it’s on the same line with additional text, the heading style automatically applies itself to the rest of the line or even the entire paragraph. This causes not just the heading to appear in your TOC, but the whole portion of text.
Maddeningly, even if you remove and reapply the style to just the heading, Word reapplies it to the rest of the line/paragraph. To fix this, I’ve either made sure headings are always on a line by themselves, or, if my style guide requires headings are in-line with the paragraph (Hello, APA.), I’ve just not included them in the TOC.
Do you have any issues with Word? Leave a comment!
While no amount of technology can make writing easy, Word’s TOC feature vastly simplifies an otherwise tedious part of the process of writing longer works. In a future post, I will look at another of Word’s more advanced features: how it can be useful (and not) in adding reference citations to your document.
Sarah P.
Get a free sample proofread and edit for your document.
Two professional proofreaders will proofread and edit your document.
Get a free sample proofread and edit for your document.
Two professional proofreaders will proofread and edit your document.
We will get your free sample back in three to six hours!